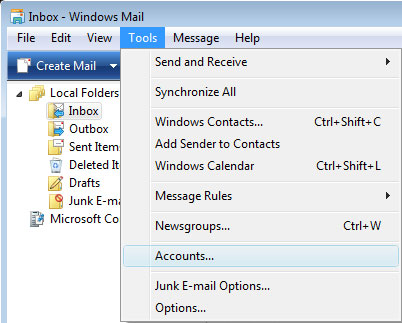
- Open Windows Mail, go to the Tools menu and click on Accounts
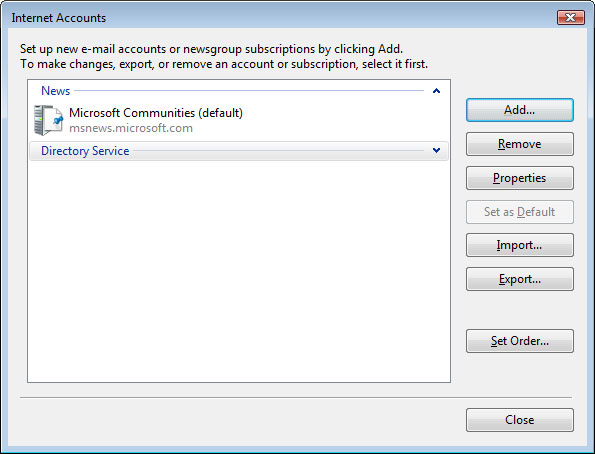
- On the Internet Accounts window, click on the Add button in the upper right.
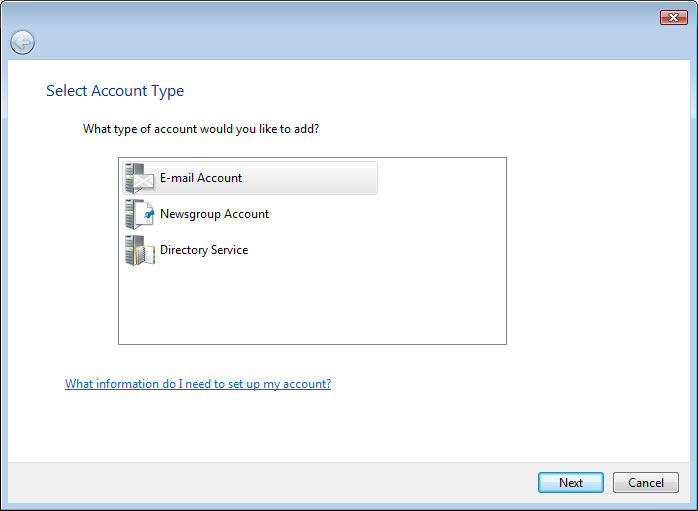
- On the Select Account Type window, choose Email Account. Click Next.
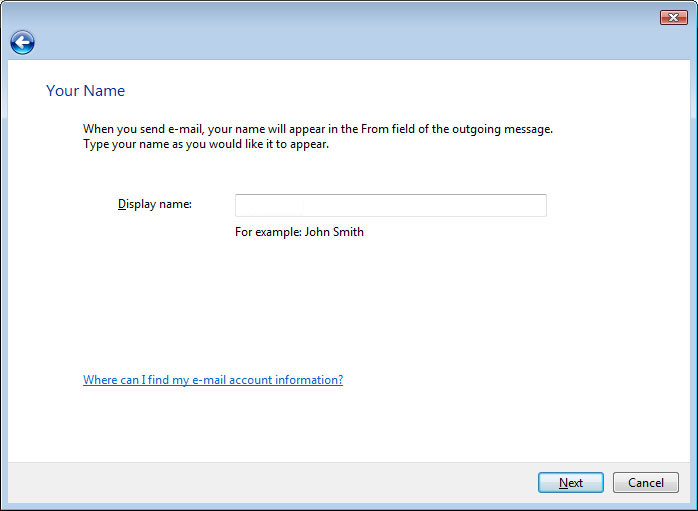
- On the Your Name window, type in your full name. Click Next.
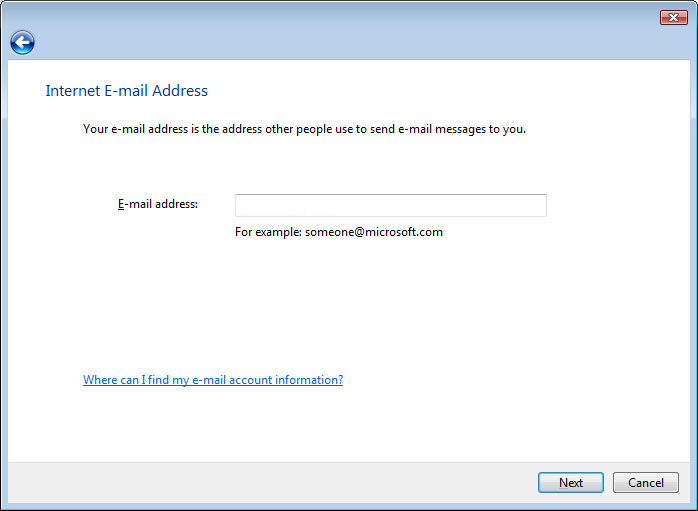
- On the Internet E-mail Address window, enter your email address. Click Next.
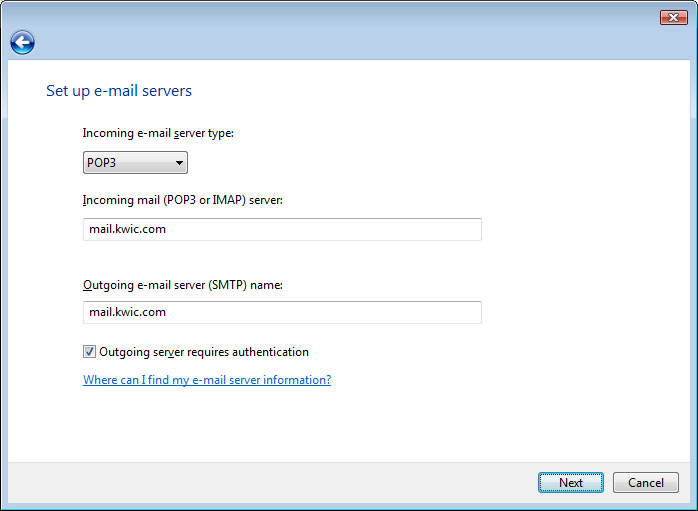
- On the Set up e-mail servers window, do the following:
-
- In the drop-down menu under Incoming e-mail server type…select POP3.
- Under Incoming mail (POP3 or IMAP) server, enter the POP3 server name.
- Under Outgoing email server (SMTP) name, enter the SMTP server name.
- Click on the Outgoing server requires authentication checkbox. Click Next.
For a list of server name you would use for your particular email address, contact our support team
-
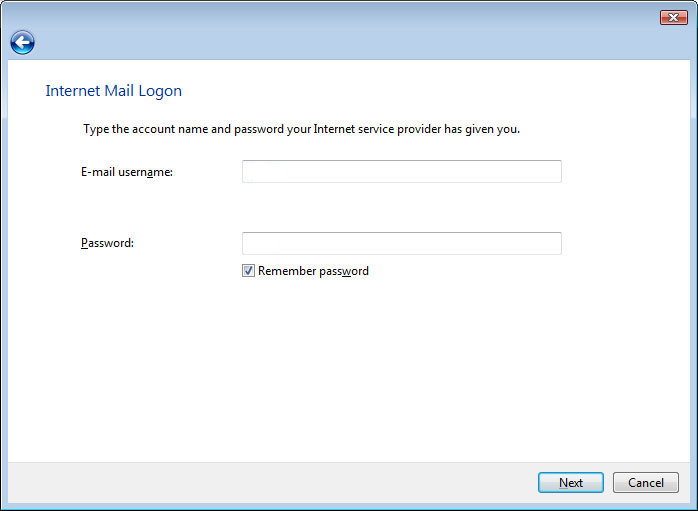
- On the Internet Mail Logon window, ensure your E-mail username is filled in, and then type in your password. Click Next.
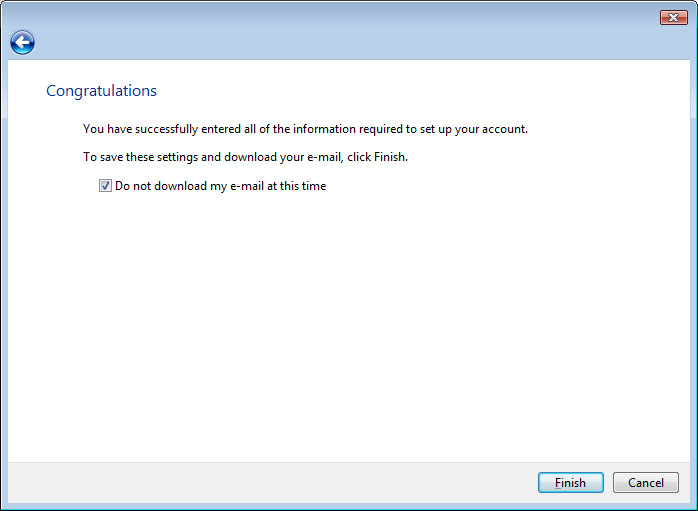
- On the Congratulations window, select the checkbox for Do not download my e-mail at this time. Click Finish.
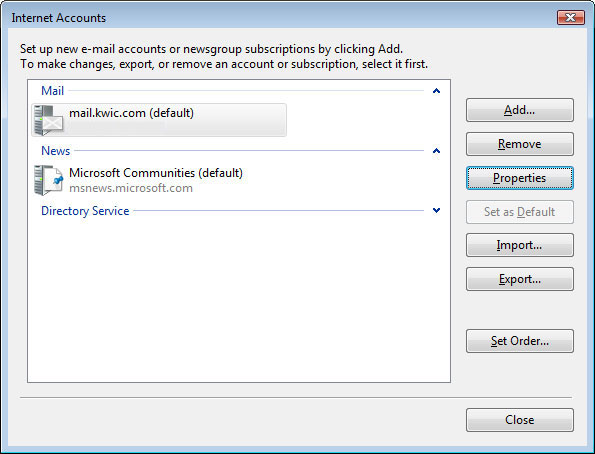
- On the Internet Accounts window, make sure your account is setup under Mail and highlighted. click on Properties on the right hand side.
- On the Properties window for the account, click the Advanced tab and change the Outgoing mail (SMTP) port to 55887.
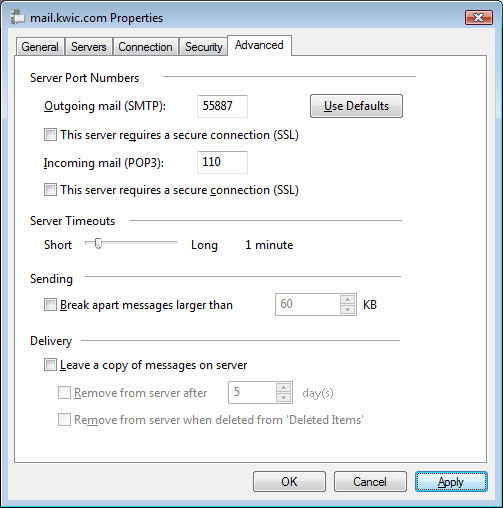
- Click Apply, Click OK, and then click on Close on the previous Internet Accounts window.