- Open Windows Live Mail, The Wizard will run the first time you open Windows Live Mail. If the Wizard doesn’t run when you first open the program, do the following:
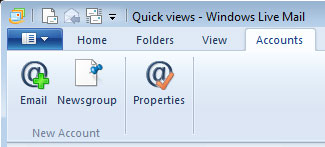
- Click on the Accounts tab
- Click on Email
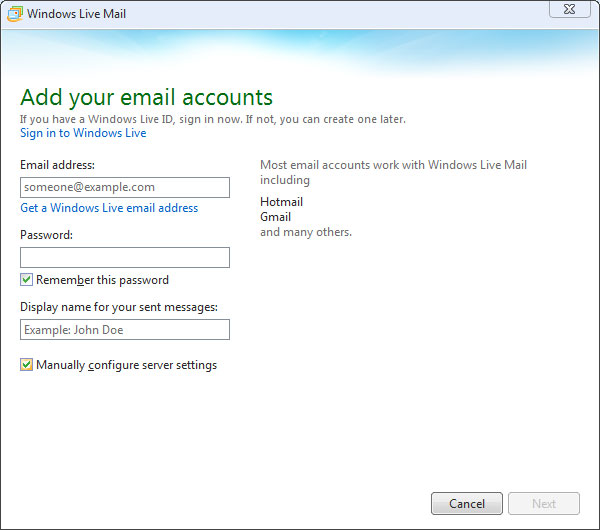
- On the Add your email accounts window, do the following:
- Enter your email address, password and type your full name into the Display name field. Remember this password will be checked by default.
- Click in the Manually configure server settings checkbox to enable it. Click Next.
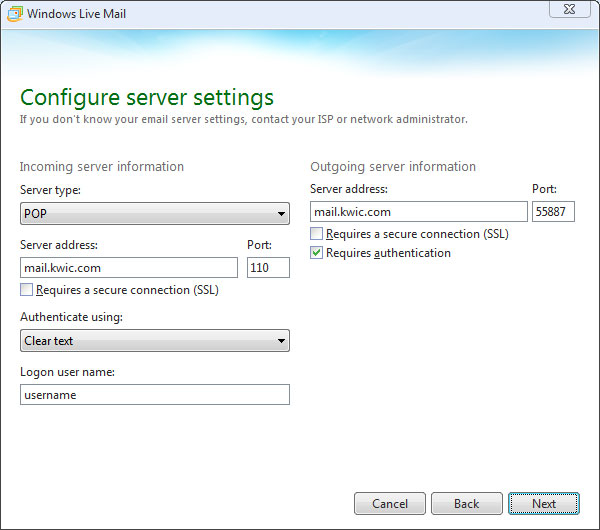
- On the Configure server settings window, do the following:
- Under Incoming server information, make sure POP is selected or choose it from the drop down menu.
- Type the server name in the server address field, and ensure the port is set to 110
- Make sure there is no checkmark in the Requires a secure connection (SSL) box, and Authenticate using is set to Clear text
- Enter your username in the Logon user name field if it is not already present.
- Under Outgoing server information, type the server name in the server address field, and change the port to 55887
- Make sure there is no checkmark in the Requires a secure connection (SSL) box, and click in the box beside Requires authentication to enable the checkmark. Click Next.
For a list of server names you would use for your particular email address, contact our support team
- On the Your email account was added window, Click Finish.